
Patchwork Chunky Cardigan knitting pattern

Patchwork cardigans are having a moment thanks to @wondercocreations and @Id.knit.that. They are the perfect way to use up any yarn leftovers you may have, they’re very easy to customise to your size and they’re very cool. I was asked to make a patchwork chunky delight and this pattern is my take on the trend (although we’re talking slow fashion here and chunky cardigans really are timeless).
Patchwork cardigan in size 1 using Wool and The Gang’s Crazy Sexy Wool and KnitCraft’s super chunky yarn.
Reading the Pattern - I’ve written this pattern out for two sizes. The cardigans fit very oversized so these two sizes will fit a range of sizes but I’ve also included instructions so you can make it fit how you want it - smaller, bigger, longer or shorter- scroll past the pattern for instructions. If you need any help adjusting the pattern to make it how you want it, please do message me - I’d be very happy to help.
Difficulty - Intermediate. There is a lot of seaming and colour changes. I wouldn’t recommend this as a first project but if you’ve made a jumper or cardigan before, this is the perfect next project if you’re looking for a challenge.

Yarn for the Queenside Castle cardigan. Barry bunny is very interested in the wicker yarn basket.
Techniques used -
1) Knit
2) Cast on (cable cast on preferred but use any you like).
3) Cast off
4) Purl
4) Mattress stitch
5) Seaming
6) Picking up stitches
7) Intarsia (Optional) - if you prefer to do intarsia rather than making separate pieces, go for it. I struggle to get the tension right and find mattress stitch looks neater but it’s entirely up to you. Note: If you do do intarsia, I suggest reducing the width of each square by 1 as I’ve added an extra stitch which is lost when seaming.
Needles required - 15 mm needles. You’ll need circular needles for picking up stitches but it’s up to you if you want to knit the body and sleeves on straights or circulars (makes no difference!).
I’ve labelled the colours A-F but you can just as many colours as you like.
Tension
7 stitches x 9 rows = 10 cm x 10 cm
Sizing

This pattern is written for two sizes with size 1 being the smallest of the two sizes. If you want to make it a different size, skip to the end of the pattern and there is some guidance for you! Size 1 instructions are stated first followed by size two in (). Size two is the same length as size one, so if you need to make it longer, add an extra row or two for each colour. The arm length may seem small but as the cardigan is oversized, they need to be shorter than you may normally have them.
Cardigan length (A) - 64 (64) cm
Cardigan width (B) - 73 (88) cm
Arm length - 47 (36) cm
Yarn - 6 (7) balls of Wool And the Gang’s Crazy Sexy Wool (here) or similar (other chunky wool ideas can be found here). I would recommend having an extra skein of yarn because you can use a surprising amount sewing and the ribbing requires a skein of yarn).
I want to use this pattern but don’t want to invest in expensive yarn….. can I still make this?
Yes you can! This can be made with pretty much any yarn in your stash as long as you have enough of it and this is done but knitting with more than one strand of yarn (i.e. holding three strands of aran/worsted together or two strands of chunky - here are some more conversions if you need them). If you do this, please check your tension but even if it’s off, the pattern can easily be adapted with some simple maths (scroll past the pattern to see how).
On y va!
Back
The back panel is knitted using 9 “squares” knitted in three columns and seamed together using mattress stitch. I like to seam as I go so there’s not lots left for the end and also you can see your cardigan take shape.

Make 3
Cast on 16 (20) stitches in colour A.
In stockinette stitch (knit and purl alternative rows) knit 16 rows.
Switch to colour B.
Knit 16 rows in stockinette stitch.
Switch to colour C.
Knit 16 rows in stockinette stitch.
Cast off.
The other two panels are the same but just with their colours alternated. For column 2 I knitted B, C then A and for column 3 I knitted C, A, B.
Seam together the three panels using mattress stitch to make a larger (almost) square panel that is 45 (57) stitches x 48 rows.
Front panels
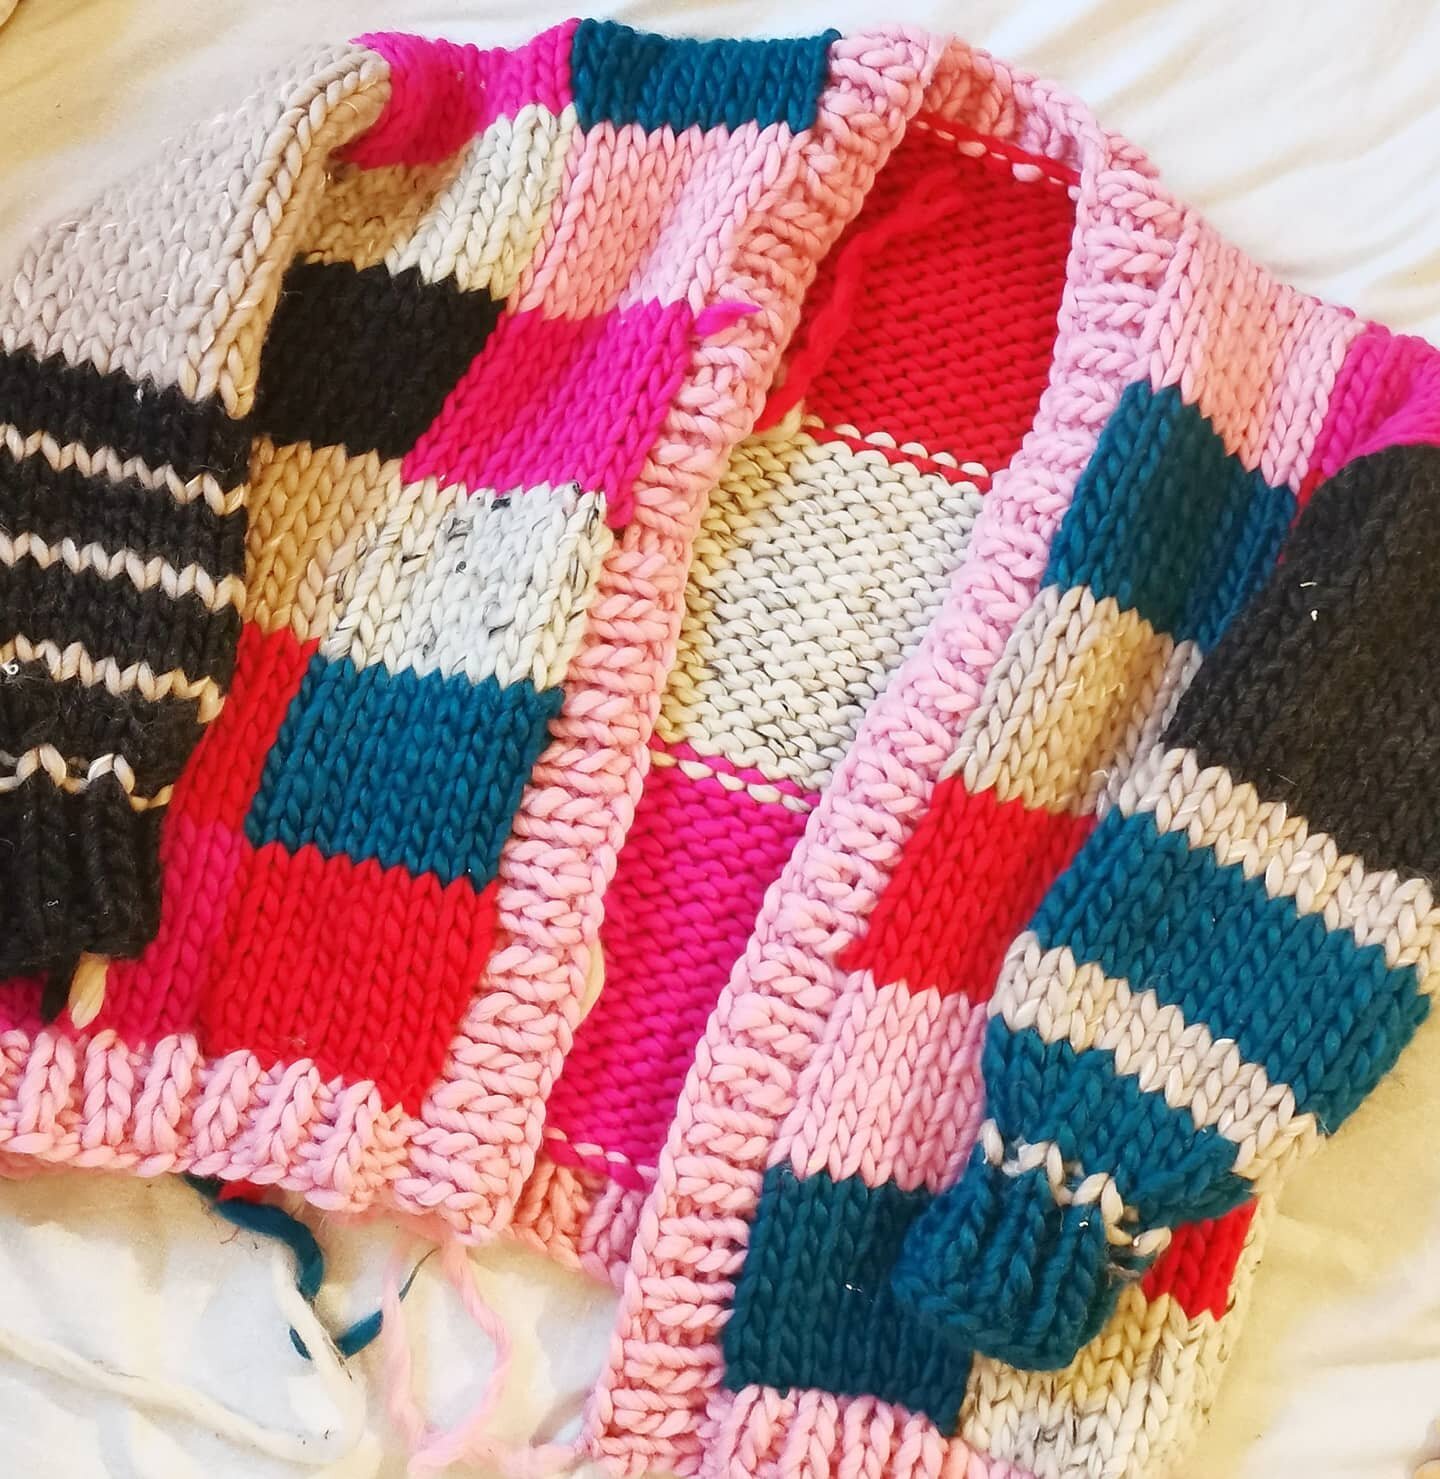
It’s up to you whether you want three big squares on each front panel of smaller ones - you can see how both the designs look in the images.
For the bright cardigan, I made four smaller panels, each made up of 6 squares and sewed them together whilst for the more neutral coloured cardi, I made two panels, each consisting of three squares. I’ve included instructions for both.
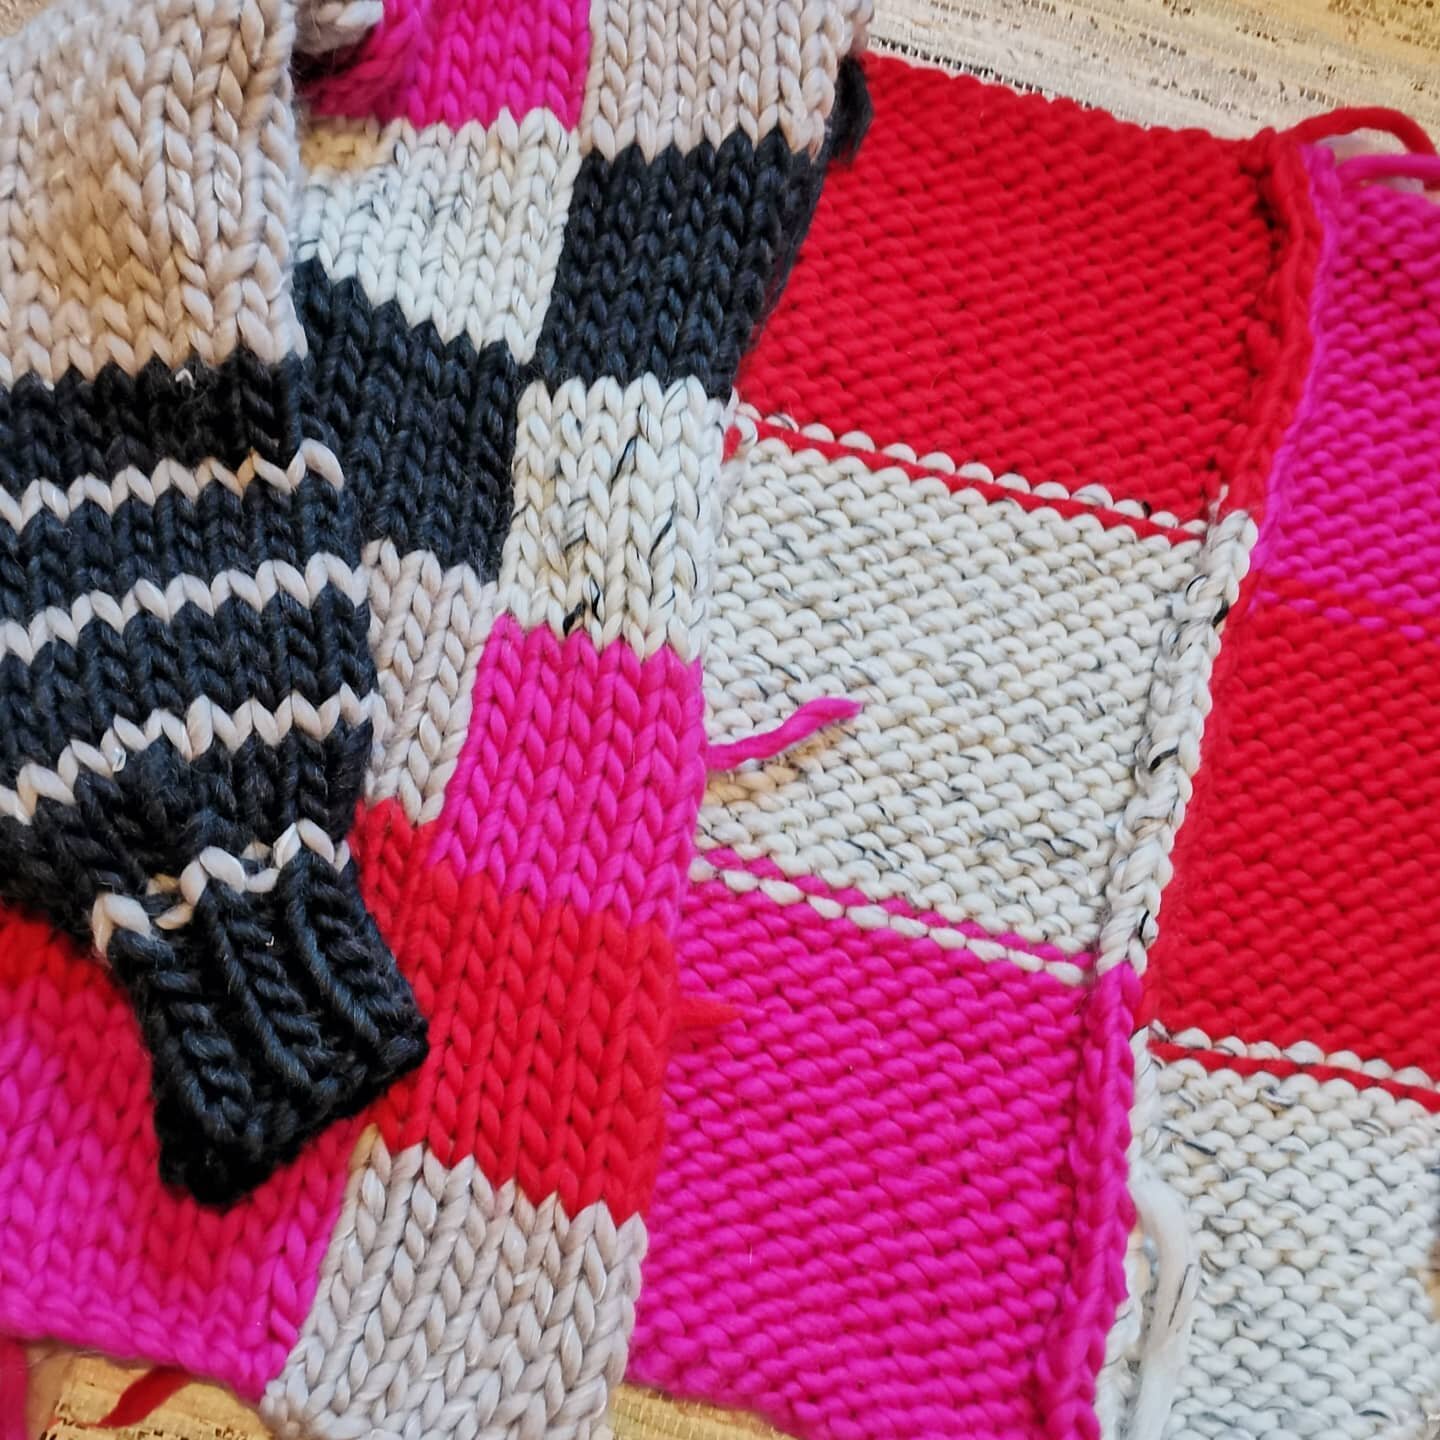
#wip of the Queenside Castle cardigan in size 1.
Smaller checked squares
You’ll need to make four of these - two for each front panel.
The front panels are made of two columns of panels sewn together. Each column is made of 6 squares, each square is 10 (12) stitches x 8 rows.
In colour A, cast on 10 stitches.
In stockinette stitch knit 8 rows.
Switch to colour B.
Repeat steps 1 and 2 5 more times, switching colour each time.
Cast off.
Sew two of the four panels together and repeat to give you the two front panels of the cardigan. Line them up with the back panel and from the edge moving inwards, sew them together using the horizontal seaming technique.

Larger checked squares
You’ll need to make two of these - one for each side.
In colour A, cast on 18 (23) stitches.
In stockinette stitch knit 16 rows.
Switch to colour B.
In stockinette stitch knit 16 rows.
Switch to colour C.
In stockinette stitch knit 16 rows.
Cast off.
Line up your front panels with the back panel and from the edge moving inwards, sew them together using the horizontal seaming technique.
Arms (make two)
The colour work on the arms is completely up to you and to be honest, I went with how much yarn of each colour I had left.
Cast on 34 (38) stitches.
Work in stockinette stitch.
Knit 8 rows.
On row 9, knit 6, knit 2 together, knit 7, knit 2 together. Repeat twice. You should now have 30 (34) stitches on your needles.
Continue in stockinette stitch.
On row 15 (13), knit 3, knit 2 together (x 6). For size 2, knit the last 4 stitches. You should now have 24 (28) stitches on your needles.
Size 1
Continue in stockinette stitch.
On row 25, knit 2, knit 2 together (x 6). You should now have 18 stitches on your needle.
Purl 1 row.
On row 27, knit 1 stitch, knit 2 together (x6). You should now have 12 stitches on your needles.
Knit 6 rows in 1 x 1 rib (knit and purl stitches alternatively).
Cast off leaving a length of yarn a bit longer than the body - this is for seaming.
Size 2
Continue in stockinette stitch.
On row 17, knit four stitches then knit 2, knit two together (x6). You’ll now have 22 stitches on your needles.
Continue in stockinette stitch.
On row 22, knit one stitch, knit two together (x6), knit the last four stitches. You’ll now have 16 stitches on your needles.
Knit 6 rows in 1 x 1 rib (knit and purl alternative stitches).
Cast off leaving a long tail to sew together.
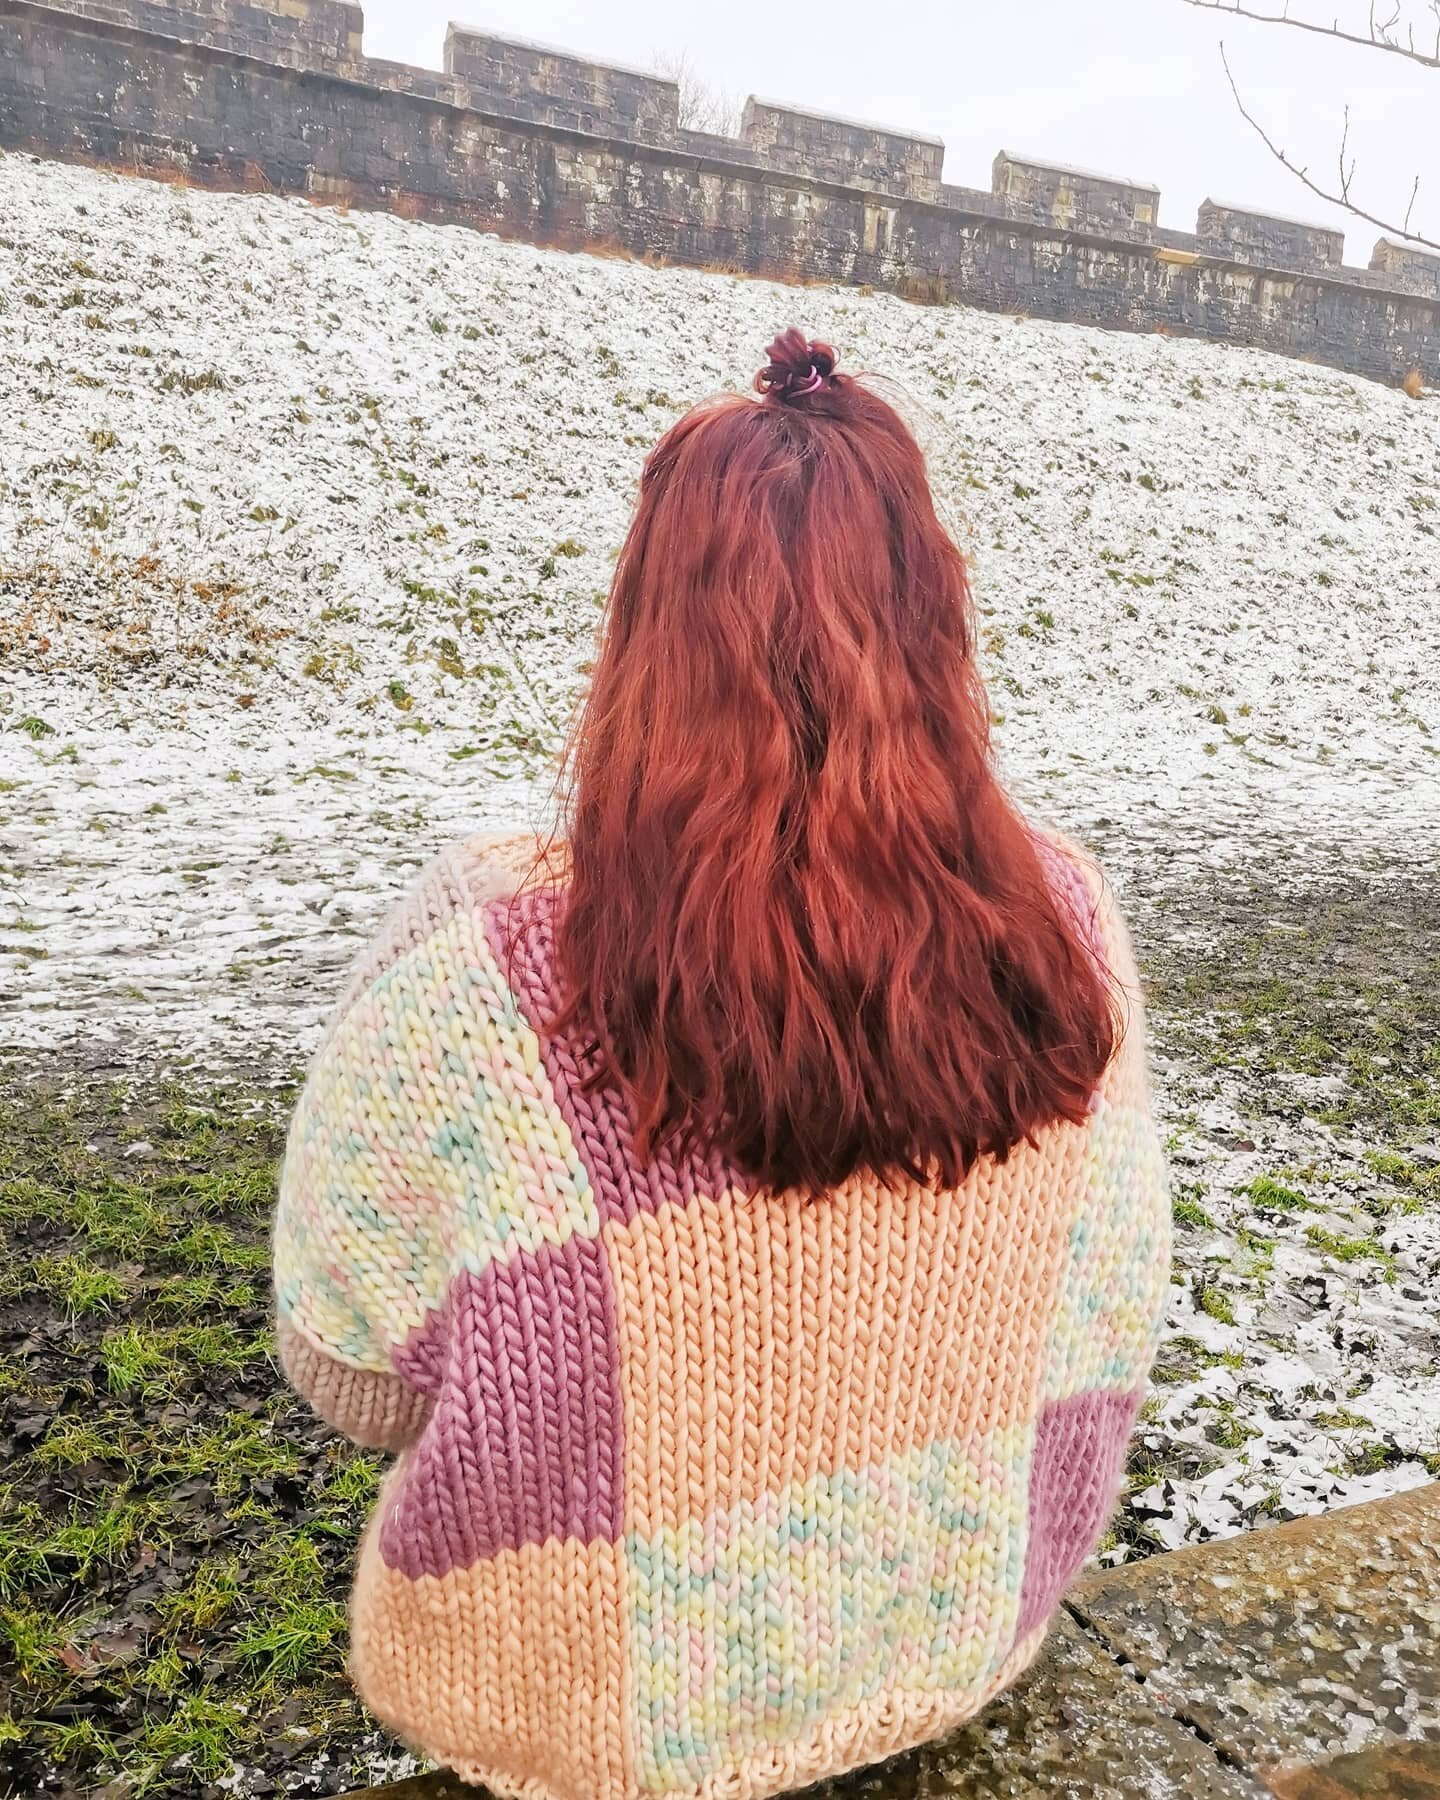
Patchwork cardigan made with We Are Knitters The Wool in size 2 modelled on a UK size 12.
To sew the arms onto the body, find the middle of the arm cast on row (between stitch 17 and 18 (19 and 20)) and line these up with the seam of your back and front panels. Sew the arms to the body using the invisible seam technique. Be careful not to pull it too tight as it can make the top of the arm tighter than it should be.
Using the long tail of yarn from where you cast of at the wrist, mattress stitch up the arm and then down the body to sew your cardigan together. Look on YouTube if you’re unsure how to do this!
After repeating for both arms, you should now have a completed cardigan (excluding ribbing). Try it on make sure you’re happy because once you add the ribbing it’s a pain to change.
Ribbing
The ribbing is optional but I personally think it makes knitwear fit better. I have done all the ribbing in one colour but again, that’s up to you!

The inside of the Queenside Castle cardigan in size 1 prior to sewing in the ends.
Using your 15 mm circular needles, pick up every stitch along the bottom of your cardigan (begin at end of the left front panel (as if you were wearing it).
Knit 3 rows in 1x1 rib (that is to knit and purl alternative stitches).
Cast off.
Now do the same again but for the front of your cardigan. starting at the bottom of the ribbing you just did on the right panel (as if you’re wearing it) pick up every stitch along the front panel, the back panel which sits behind your neck and then along the other front panel.
Knit 3 rows in 1 x 1 rib (knit and purl alternative stitches).
Cast off.
That’s all the knitting done!
Now the inside of your cardigan will look a bit like this….. Scary I know. So now you just have to weave in all your ends. Pop on your favourite movie, sit on the sofa with a hot chocolate and let your mind wander. It’s the only way to do it without hating every rogue bit of yarn.
How to make this pattern work for you
As this pattern is constructed using columns of squares, it is very easy to adapt it to fit you or whoever you are making it for.
The first thing to do is decide how wide you want it. Let’s say for the sake of an example you want it to be 130 cm wide.
Tension = 7 stitches x 10 rows = 10 cm x 10 cm
130 / (10 / 7) = 91 stitches
Width you want your cardi / (10 / number of stitches per 10 cm) = number of stitches needed
For the sake of making maths simpler, round down to 90 stitches. So each of your columns of squares needs to be 30 stitches wide. Add an extra stitch to each of your columns as one will be lost when you join your pieces together with mattress stitch so for each column you’d need to cast on 31 stitches.
Let’s say you want your cardi to be 60 cm long (minus the ribbing)
10 / 10 * 60 (number of stitches per tension height / tension height * height of cardigan) = 60 rows
Therefore as there are three squares per row, each colour will be 31 stitches x 20 rows.
For the front panels, they need to be the same length as the back but slightly wider than each back panel. You’ll have ribbing around the front so the front panels don’t need to be half the width of the back but this will depend on if you want to wear your cardi closed or not. If you’re not fussed, for the example above, I would make each front panel 38 stitches wide leaving room for 4 rows of ribbing.
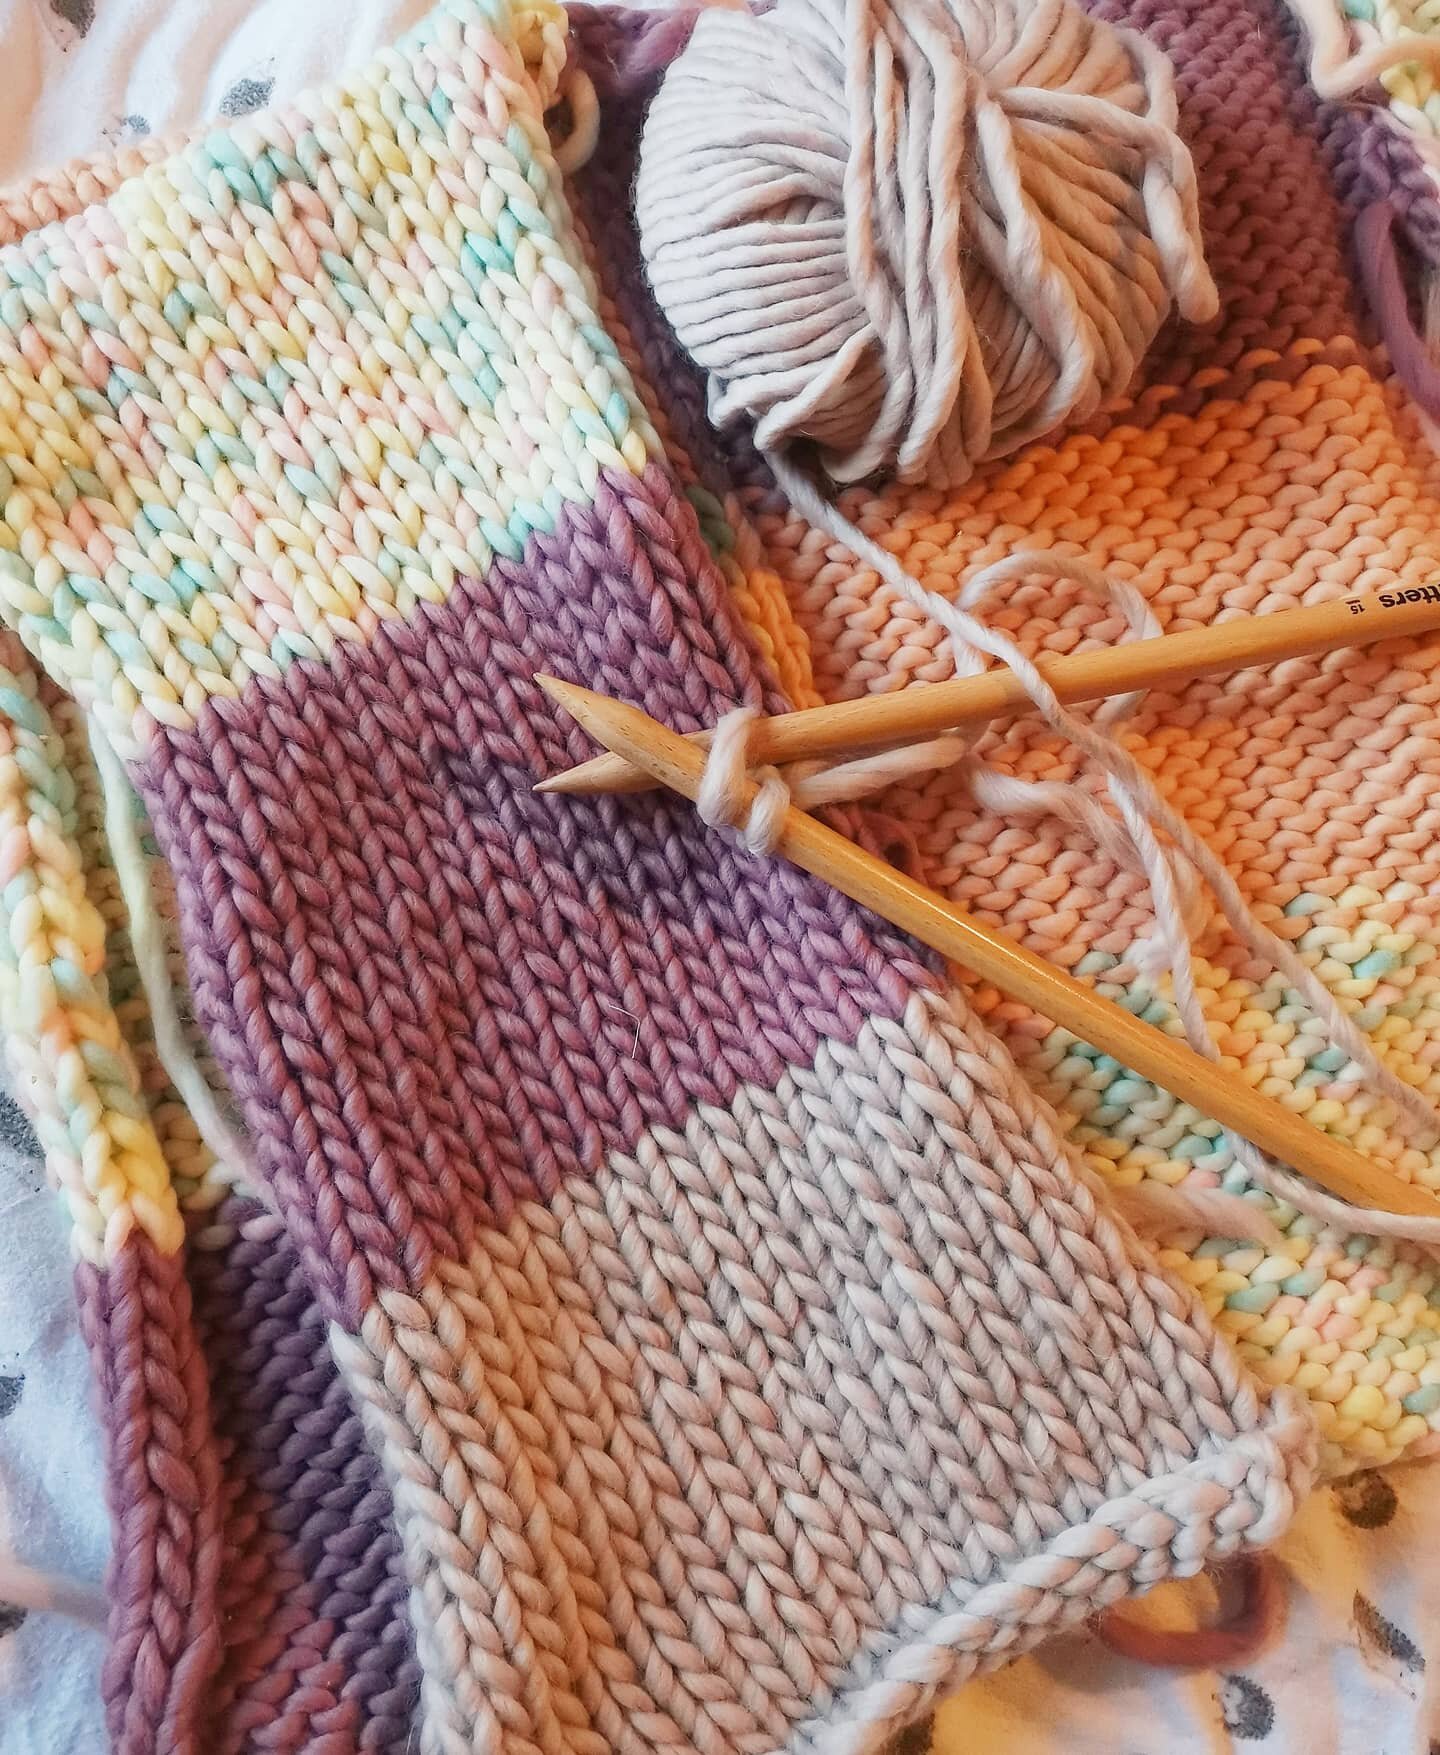
WIP of the patchwork cardigan in size two with larger squares on the front panels.
The length of arms required will change depending on the size of the cardigan. If you making it smaller for a tall person for example, the arms will need to be longer than if you were making it oversized for the same tall person. The best thing to do is to measure from the armpit to the wrist, try on the cardigan once the front panels have been sewn onto the body see how it sits on the shoulders and go from there. If you need any help, please do get in touch because it really will depend on the person.
Hope that all makes sense! Writing patterns is still new to me so if anything is not clear or if there’s a mistake in my numbers, please do let me know! I have tested both of these sizes so measurements and stitch counts should be correct.
As always, please don’t sell or replicate this pattern. It takes a lot of work to create a pattern so if you do use it, please credit me as the pattern author. You’re welcome to sell your finished products and please do tag me in any posts of your makes.
Happy knitting,
Abbie xo